The story so far
- An 8″ Floppy Disk Challenge
- Digital Obsolescence: Reproducing Floppy Data Cables
- Spinning up the first 8″ disk
- Running more informed experiments in the 8″ world
- Getting desperate: Down to the Physical Layer
After confirming as well as we could that our hardware setup of the 8” drive and the adapters was working and that the disks seem to contain something, the next option was to try floppy disk controllers (Kryoflux or Catweasel). The Kryoflux was used by the colleagues a few years ago at the Archives New Zealand in the Burroughs Technologies Operating System (BTOS) / Convergent Technologies Operating System (CTOS) recovery project (https://openpreservation.org/blog/2012/01/03/digital-archaeology-and-forensics/).

Kryoflux and Catweasel
As the University of Freiburg does not have a device, the disks had to travel to a device. Our colleagues at the Computerspielemuseum (Computer Games Museum), Berlin (http://www.computerspielemuseum.de/) have both a Kryoflux and a Catweasel for their huge collection of magnetic media from a wide range of computer and gaming systems. In addition to the local experts, Dr Winfried Bergmeyer and Andreas Lange, Peter Chan, a digital archivist from Stanford University, was also there to assist Dr Denise de Vries and Bart de Vries from Flinders University.
The Kryoflux
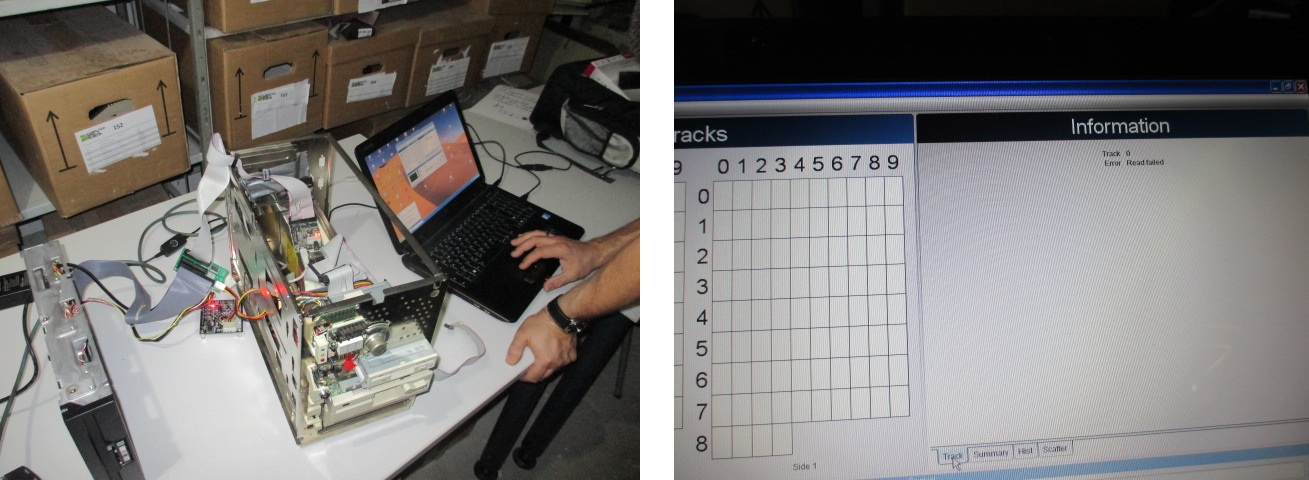
The Kryoflux card is built into a tower case containing a power supply unit (PSU), a 5.25” drive and a 3.5” drive. The Mitsubishi drive was connected to the Kryoflux which in turn was connected to a Dell laptop running Windows XP (the setup is described in detail later).
For our initial test of our setup we used our test disk, this failed after reading only the first track. As this test disk has consistently failed, we must now conclude that it is a dud disk. We then tried to calibrate the drive. Bad move, as this only calibrated to track 0 and subsequent attempts at imaging also failed.
 Left: Kryoflux setup with 8” drive attached. Right: Imaging stopped after reading Track 0 with a “Read Failed”
Catweasel
At this point Peter suggested that we try another device: the Catweasel. The reason for this was that he knew of software that worked with Catweasel to image 8 inch disks. So we connected the Catweasel system up and tried to run the Catweasel software ImageTools 3. However, as there is no configuration for 8 inch disks this didn’t work out.
We then tried cw2dmk as the documentation mentions 8 inch disks and that a variety of formats can be imaged. Unfortunately, this did not work returning the error “Failed to detect any drives”. To make sure that the Catweasel device was in good working order, Bart reconnected the 5.25” and we successfully imaged a Commodore 64 disk.

So back to connecting the 8” drive, but cw2dmk failed again with the same error. At this point, we decided to go back to the Kryoflux. Later on it was discovered that cw2dmk does not work with Windows XP. So frustrating!
Kryoflux (again)
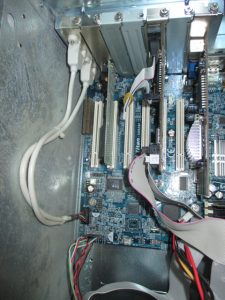
The setup is the 50 pin data cable to the fdadap floppy disk adapter then 34 pin to the kryoflux, The kryoflux is connected via USB cable to the laptop.
The 24V power supply to the disk drive is via the FDDC DC-DC power converter, 12V→24V and 5V→ 5V. Power was supplied by molex from the PSU in the separate tower and conversion board. That is the 50→34 was supplied with power from the 3.5” power lead.
After connecting it all up we powered up according to the Kryoflux manual but the software reported that it didn’t recognize hardware. Strange because we did have it working earlier in the day.
Checking everything again, we noticed that the circuitry was getting power from 2 sources and perhaps this was preventing the Kryoflux from resetting. So we unplugged power to all components except the laptop, rebooted and then plugged in the Kryoflux and then powered on all downstream components. This was the correct way to do it. Kryoflux recognized the drive and we were able to start imaging.
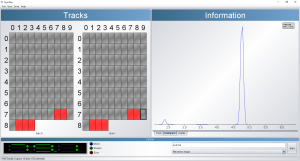
The imaging was set to output Kryoflux Stream Files, preservation and all other setting to the default values. None of the preset formats for Kryoflux produced an image. Leaving default settings meant that 83 tracks were tried on each side of the disk, resulting in “Error reading stream device” from track 77 onwards (with tracks starting at 0).
We managed to get an image, albeit in so far uninterpreted stream files, for each of the disks. Each disk took around 4 – 5 minutes to image.

If anyone knows how to parse the flux streams for HP M2FM, please get in touch.


September 14, 2016 @ 10:06 pm CEST
This is fascinating to read. We don’t have a Catweasel, so I was curious to see how it worked. It sounds like y’all have gotten as far as we have here – the machine is up and running, but we’re getting un-helpful outputs.
September 14, 2016 @ 2:51 pm CEST
Thanks.
I’ll try your tool and report on the results.
September 14, 2016 @ 2:36 pm CEST
Such great, thorough work!
It sounds like you’ve already tried all reasonable options in the kryoflux GUI but you may want to try this little tool I put together https://github.com/euanc/DiskFormatID
It enables you to try creating a huge number of disk image formats from from the stream files and then it will test whether they mount for you.